7 Tips for Rapid Injection Molding Prototyping
Rapid injection molding prototyping helps product teams test realistic parts before committing to full-scale production. It combines production-grade materials, practical tooling methods, and faster design feedback. A prototype that feels like the final component can reveal problems that computer models often miss. These problems may include weak snap-fits, uneven wall thickness, visible sink marks, or difficult assembly.
Details matter. A small gate location can affect surface quality and filling balance. A slight draft-angle change can reduce ejection damage. Experienced engineers review these risks before mold fabrication begins. They also confirm material behavior, expected tolerances, cooling requirements, and the intended production volume. These checks support more reliable decisions, although no prototype process removes every uncertainty.
This guide presents seven practical tips for rapid injection molding prototyping. The recommendations reflect common engineering workflows, supplier collaboration, and lessons learned from real development projects. They cover design preparation, material selection, tooling choices, inspection, and communication. The goal is not simply to produce parts quickly. It is to create useful evidence for the next design decision.
Some projects still need revision.
That is normal. A prototype may expose an overlooked tolerance stack or a finish that looks different under workshop lighting. Treat those findings as valuable data, not failure. By combining technical review with hands-on inspection, teams can shorten development cycles while protecting performance, cost, and product quality.
Understanding Rapid Injection Molding Prototyping
Understanding rapid injection molding prototyping means balancing speed, design risk, and production realism. The 2024 Wohlers Report valued global additive manufacturing at $20.035 billion in 2023, showing strong demand for fast development. Injection molding adds another advantage: prototypes can use production-grade materials, surface textures, and repeatable dimensions. The process is not automatically faster. Tooling decisions matter.
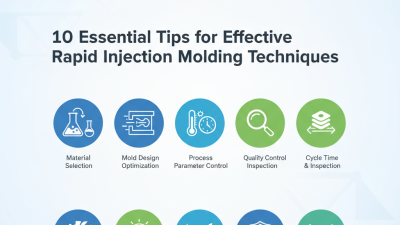
Tip 1: Freeze critical dimensions early. Tip 2: Choose resin by function, not appearance. A glossy sample can hide weak impact resistance. Tip 3: Use uniform wall thickness. Thick sections often create sink marks or internal stress. Tip 4: Add draft before machining begins. Even one degree can improve ejection and protect surfaces.
Tip 5: Review gates and vents with a mold engineer. The first fill study is rarely perfect. Tip 6: Inspect the first molded parts under real loads, temperature, and assembly pressure. The International Federation of Robotics reported 541,302 industrial robots installed globally in 2023, reflecting the industry’s push toward repeatable automation. Tip 7: Record every change between mold trials. A rushed revision may solve one defect and create another. Rapid prototyping rewards disciplined iteration, although teams sometimes underestimate inspection time.
Selecting Materials and Designing Prototype Parts
7 Tips for Rapid Injection Molding Prototyping
Selecting Materials and Designing Prototype Parts
Material selection should follow the prototype’s real job, not habit. A snap-fit enclosure needs toughness and controlled flexibility. A hot fluid path needs chemical resistance and stable dimensions. PlasticsEurope reported 413.8 million tonnes of global plastics production in 2023. That scale shows why material families matter, but volume alone cannot justify a choice. Compare shrinkage, moisture absorption, heat deflection, and flow length before cutting steel. Keep a backup resin with similar processing behavior. This saves time when supply changes.
Prototype geometry should reveal manufacturing risks early. Use uniform wall thickness where possible. Sudden changes often create sink marks or warpage. Add ribs carefully. A rib near 60 percent of the nominal wall can support stiffness without leaving a heavy witness mark. Draft angles around one degree usually help ejection, although textured surfaces may need more. Keep gates away from visible faces and critical snap features. Small radii are tempting. They also invite stress concentration.
Try a simple mold-flow review before machining. The 2024 PlasticsEurope report highlights rising pressure to reduce material waste across the plastics value chain, making efficient part design more important. Still, simulations are not truth. A prototype may show unexpected weld lines, trapped air, or brittle corners. Record those failures. Redesigning one corner can teach more than producing ten visually perfect samples. My common mistake is trusting the drawing too much. The molded part is the evidence.
Optimizing Injection Molding Process Parameters
Rapid injection molding depends less on speed than on disciplined parameter control. PlasticsEurope’s Plastics—The Fast Facts 2024 reports global plastic production at 413.8 million tonnes in 2023. That scale highlights a practical truth: small process errors can create large material losses. During prototyping, record melt temperature, mold temperature, injection speed, packing pressure, cooling time, and part weight for every trial.
Tip 1: Start near the resin supplier’s recommended processing window. Avoid guessing from appearance alone. Tip 2: Use a short-fill study to separate flow problems from packing problems. Tip 3: Increase injection speed carefully. Faster filling can reduce weld-line weakness, but it may also trap air or cause burning. Tip 4: Adjust mold temperature before changing several other settings. A warmer cavity often improves surface replication and reduces premature freezing.
Tip 5: Set packing pressure from measured part weight, not habit. Hold pressure until the gate freezes, then verify the result with repeated weighings. ASTM D955 provides a recognized method for measuring molding shrinkage, which helps compare prototype dimensions with design intent. Tip 6: Keep cooling time long enough to prevent ejection distortion. This is frequently underestimated. Tip 7: Change only one major variable per trial and document the response. I still find this difficult under production pressure. A perfect first shot is uncommon. Review warpage, sink marks, flash, cycle time, and dimensional data together before locking the next setting.
Inspecting Prototypes and Applying Design Improvements
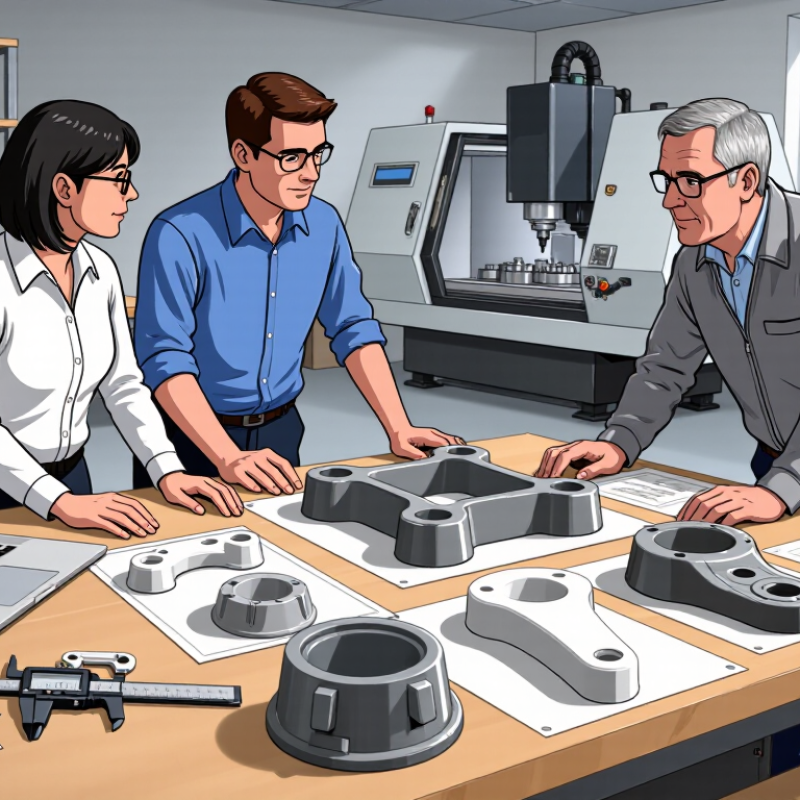
Inspecting a rapid injection molded prototype requires more than checking its appearance. Measure critical dimensions with calibrated tools, especially around holes, clips, and sealing surfaces. Compare each result with the drawing and record actual deviations. A clean surface can still hide serious warping.
Look closely at parting lines, gate marks, flash, sink marks, and short shots. Run a finger across edges. Small burrs may damage assembly or user handling. Test the prototype with mating parts under realistic force. Check whether screws align, clips engage, and moving sections operate smoothly. Functional evidence matters more than visual confidence.
Our first inspection was too optimistic. We trusted symmetry and overlooked slight shrinkage near a thick rib. That mistake changed the assembly gap. Improve the design using measured evidence, not guesses. Reduce uneven wall thickness, add suitable draft, strengthen weak ribs, or relocate the gate when filling is inconsistent. Make one controlled change at a time. Otherwise, the next result becomes difficult to interpret. Keep photographs, measurements, material details, and molding conditions together. This record helps separate design problems from process variation. Reinspect every revision, even when the change seems minor. Tiny adjustments can create unexpected defects.
7 Tips for Rapid Injection Molding Prototyping: Inspecting Prototypes and Applying Design Improvements
These common design-for-molding reference values help guide prototype inspections. Draft requirements generally increase with surface texture, while uniform wall thickness and adequate corner radii help reduce filling, cooling, and ejection problems. Confirm final values with the material supplier, mold maker, and inspection results.